Getting Started
This page will provide you with a basic overview of how widgets are built.

Creating a Widget
From within the Hologram application, open the preferences window, go to the widgets page and click the show widget developer tools button. Doing so will reveal the developer icon in the left column navigation of Hologram's main window.
Then navigate to the developer page and click the New Widget button. Hologram will ask you to name your widget, then it will let you select from one of several starter widget templates (Hello World, Simple Dash, Simple Weather). When you click the submit button, Hologram will create all the base assets (described below) so you can get started building your widget.
Anatomy of a Widget
A widget will minimally consists of the following four assets:
widget.json
This file contains information about your widget such as its name, version, etc. It's also where all the user-editable settings associated with a widget will be defined. This file is explained in detail in the Widget Config page.
index.js
The Javascript entry point to your widget. This is where most of your code will live. It must export a valid Vue JS component using ES6 module syntax. Widgets must also extend the Hologram widget component.
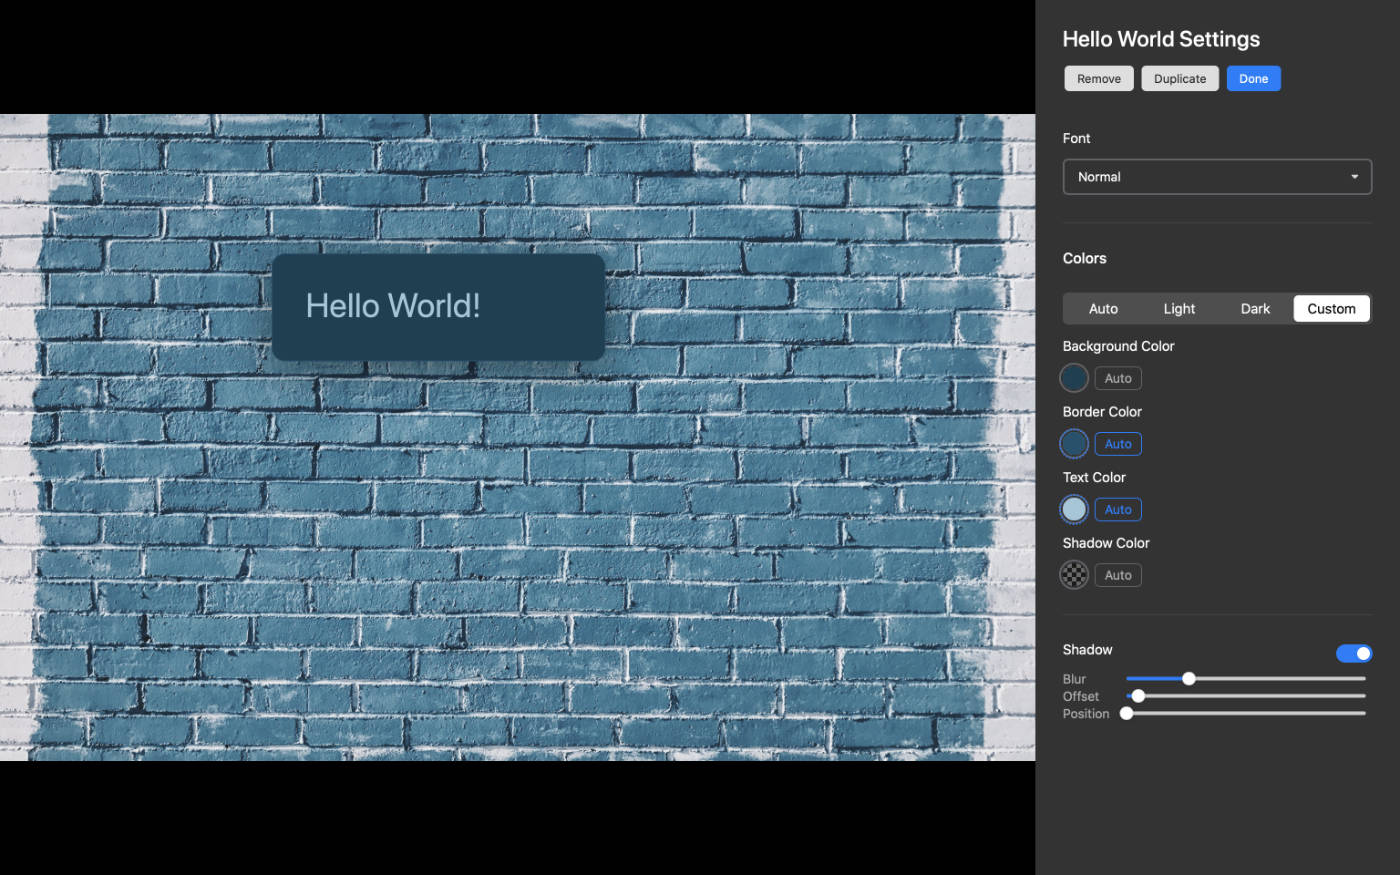
Here is a minimalist example of a "Hello World" Widget.
export default {
    extends: HologramWidget,
    template: /*html*/ `
    <div>Hello World!</div>
    `
}
A more thorough explanation can be found in the Widget Class page.
styles.css
This file contains your widget's CSS. The styles are automatically scoped and injected into the widget to prevent conflicts with other widgets.
// This
.widget-wrapper {
    color: green;
}
// Will automatically become:
.widget-css__my-widget-name .widget-wrapper {
    color: green;
}
card.png
The widget card image. Dimensions should be 800px by 550px. Please look at the default widget cards for examples of what a typical card looks like.
Development Server
It's hard to debug code when working with Hologram's live Webkit layer because the web inspector and Javascript console are not accessible, so Hologram includes a dev server to assist you during development. The server auto-detects file changes and refreshes your web browser for convenience.
The dev server can be launched from within the Hologram developer page by clicking the Start Dev Server button.
This will create a server on port 9080.
If Safari is your default browser you can click the open browser button. Otherwise, you can launch Safari manaully and go to localhost:9080. Hologram uses Webkit, so it's highly recommended that you develop using Safari.
The server home page will show a list of all your Hologram themes. Select one, then add your new widget to your theme.
You are now ready to begin writing code!
